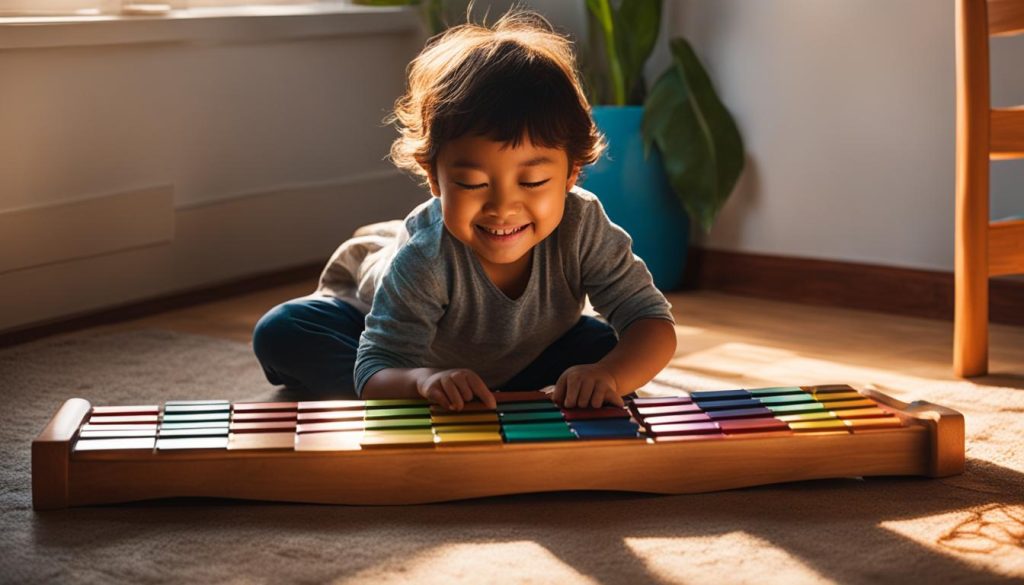
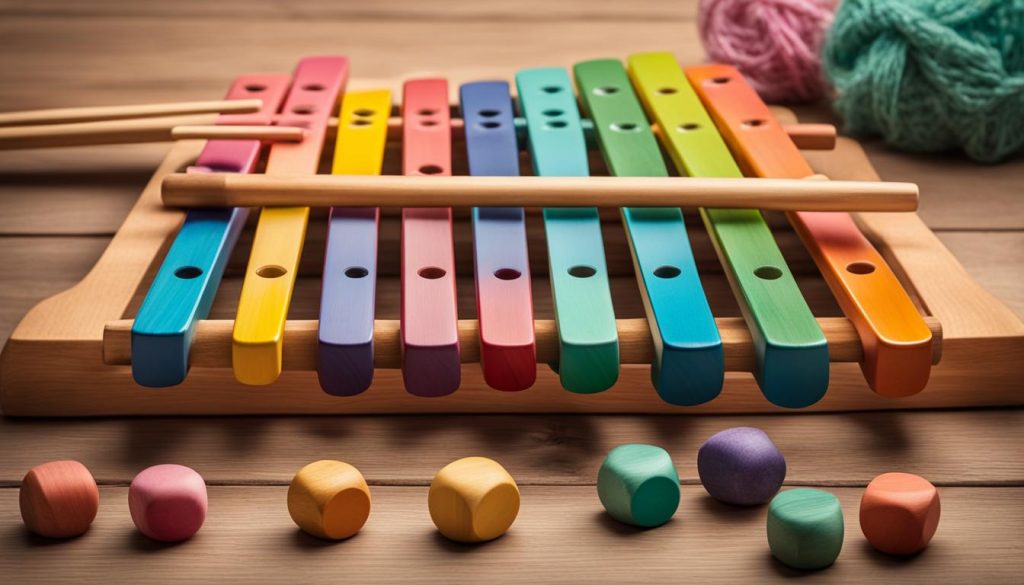
Welcome to my guide on fun sound experiments for kids! In this section, I will dive into the world of interactive and educational sound experiments that will engage and entertain your children. By using xylophones, we can create a hands-on learning experience that explores the wonders of sound. Let’s discover the fascinating world of science experiments with sound and unleash your child’s creativity and curiosity.
Sounds experiments for kids are not only entertaining but also provide unique educational opportunities. By engaging in hands-on activities, children can develop their understanding of sound, enhance their musical skills, and improve their hand-eye coordination. Through interactive experiments, they can explore different pitches, tones, and the science behind creating and manipulating sound waves.
So, whether you’re looking for DIY projects or easy sound experiments to try at home, this section will provide you with innovative and fun ideas. Let’s embark on this exciting journey of scientific exploration and create memorable learning experiences for your kids!
The Benefits of Xylophones for Kids
Xylophones offer numerous educational and developmental benefits for children. They are not just musical instruments; they also play a vital role in enhancing a child’s musical skills and hand-eye coordination. Through the exploration of different sounds and pitches, xylophones provide an interactive and engaging way for children to develop their musical abilities.
By playing the xylophone, children can improve their hand-eye coordination as they coordinate their finger movements to produce specific notes. This coordination is crucial for developing fine motor skills, which are essential for activities such as writing, drawing, and playing sports. Furthermore, the use of xylophones can help children understand rhythm, timing, and patterns, laying a foundation for more advanced musical concepts.
When it comes to educational xylophones for kids, there are various options available. Wooden xylophones provide a warm and natural tone, while metal xylophones offer a bright and clear sound. Additionally, there are color-coded xylophones specifically designed for educational purposes. These xylophones have color-coordinated keys, making it easier for children to learn and play songs, fostering their musical development and creativity.
Benefits of Xylophones for Kids:
- Enhancing musical skills
- Improving hand-eye coordination
- Promoting fine motor skills development
- Developing an understanding of rhythm and timing
- Fostering musical creativity
In summary, xylophones provide a fun and effective way for children to engage with music and sound. With their ability to enhance musical skills, improve hand-eye coordination, and promote overall development, xylophones offer valuable learning opportunities for kids. Whether it’s through exploring different types of xylophones or engaging in educational activities, incorporating xylophones into a child’s learning journey can be both educational and enjoyable.
Easy Sound Experiments with Water Xylophones
One easy and interactive sound experiment for kids involves creating a water xylophone. This hands-on DIY experiment allows children to explore the concept of sound waves and how they can be manipulated by changing the amount of water in glass jars. By tapping the jars with a stick, children can create different pitches and observe the effects of water level on sound. This experiment is easy to set up and can be done with simple household items.
Creating a Water Xylophone
To create a water xylophone, you will need the following materials:
- Glass jars or cups of different sizes
- Water
- A stick or a spoon for tapping
Here’s how to conduct the experiment:
- Fill each jar with a different amount of water. You can start with varying levels, such as full, half-full, and empty.
- Line up the jars in order, from the one with the most water to the one with the least.
- Tap each jar gently with the stick or spoon and listen to the sound produced.
- Observe how the pitch of the sound changes as you tap different jars with varying water levels.
- Encourage children to experiment by adding or subtracting water from the jars and tapping them to create different sounds.
The Science Behind the Experiment
The water xylophone experiment demonstrates the effects of water level on sound. When tapping the sides of the jars, children will notice that more water in the jars results in a lower pitch, while less water creates a higher pitch. This phenomenon is due to sound waves, which are vibrations that travel through the water. By adjusting the water levels and tapping different parts of the jars, children can create new sounds and explore the properties of sound waves.
| Jar | Water Level | Pitch |
|---|---|---|
| Jar 1 | Full | Low |
| Jar 2 | Half-full | Medium |
| Jar 3 | Empty | High |
Exploring Sound Waves with a Water Xylophone
When it comes to engaging and innovative sound experiments for kids, a water xylophone is a fantastic option. By tapping the sides of glass jars filled with varying amounts of water, children can explore the fascinating world of sound waves and how they affect pitch. This hands-on experiment is not only educational but also a lot of fun for young learners.
During the water xylophone experiment, children will notice that the pitch of the sound produced changes depending on the amount of water in the jars. More water in the jars results in a lower pitch, while less water creates a higher pitch. This phenomenon occurs because sound waves, which are vibrations that travel through the water, are affected by the water level. By adjusting the water levels and tapping different parts of the jars, children can create new sounds and further explore the properties of sound waves.
“The water xylophone experiment provides an exciting opportunity for children to discover the relationship between water levels and sound pitch. By actively engaging in this experiment, they can gain a deeper understanding of how sound waves work.”
Through this experiment, children can also gain an appreciation for the science behind music and the mechanics of musical instruments. It allows them to develop their auditory and analytical skills while fostering creativity and curiosity. By encouraging hands-on exploration and providing opportunities for children to manipulate variables and observe the corresponding changes in sound, the water xylophone experiment promotes active learning and a deeper understanding of the concepts involved.
The Water Xylophone Experiment in a Nutshell
To conduct the water xylophone experiment, follow these simple steps:
- Gather the materials: glass jars of different sizes, water, a stick or mallet for tapping, food coloring (optional).
- Fill each glass jar with a different amount of water. Start with a small amount in one jar, gradually increasing the water level in the others.
- Add a few drops of food coloring to each jar (optional) to make the experiment more visually engaging.
- Line up the jars in order, with the one containing the least water first and the one with the most water last.
- Use the stick or mallet to tap the sides of the jars and observe the variations in pitch produced by the different water levels.
- Encourage children to experiment further by tapping at different spots on the jars and changing the water levels to see how it affects the sound.
By following these simple instructions, children can embark on a hands-on exploration of sound waves and gain a deeper understanding of how they interact with different variables. The water xylophone experiment offers a fun and interactive way for children to learn about the science of sound while honing their observational and analytical skills.
DIY Water Xylophone Experiment Instructions
In this section, I will provide you with step-by-step instructions for conducting a fun and educational DIY water xylophone experiment. Follow these simple guidelines to explore the fascinating world of sound with your kids!
Gather the Materials
Before you begin, make sure you have all the necessary materials at hand. Here’s what you’ll need for the water xylophone experiment:
- Five or more glass jars of different sizes
- A wooden stick or spoon
- Water
- Food coloring (optional)
Once you have gathered all the materials, you’re ready to proceed to the next steps.
Create the Water Xylophone
Follow these instructions to assemble your DIY water xylophone:
- Fill each glass jar with a different amount of water. Start with the first jar, filling it about an inch or two deep. Gradually increase or decrease the water level in each subsequent jar to create a range of pitches.
- If desired, add a few drops of food coloring to each jar to make the experiment visually appealing.
- Arrange the jars in a row, with the jar containing the least amount of water on one end and the one with the most water on the other.
- Now, take the wooden stick or spoon and gently tap each jar. Observe the different pitches produced by the varying water levels.
Note: You can also experiment with tapping the sides or the bottoms of the jars to create different sounds.
Explore and Observe
Encourage your kids to explore and observe the effects of water levels on sound. Ask questions like:
What happens when you add more water to a jar? How does it affect the pitch?
Can you create a melody by tapping different jars in a specific order?
What happens if you use a different type of stick or spoon to tap the jars?
Let your children’s curiosity guide them as they discover the fascinating properties of sound waves and how they can be manipulated with water. Enjoy the interactive and educational experience of the DIY water xylophone experiment!
| Jar Number | Water Level | Pitch |
|---|---|---|
| 1 | Low | High |
| 2 | Medium | Mid |
| 3 | High | Low |
| 4 | Low | High |
| 5 | High | Low |
Table: Water Xylophone Pitch Comparison
Further Exploration and Learning Opportunities
As we have seen, the water xylophone experiment is an excellent starting point for exploring the fascinating world of sound and music with children. However, there are countless other educational and engaging sound experiments that can be conducted to deepen their understanding.
One avenue of exploration is the study of sound waves. Children can learn about the properties and characteristics of sound waves by experimenting with different materials, shapes, and sizes. They can observe how sound waves travel through solids, liquids, and gases, and how they can be manipulated to create different sounds.
Additionally, delving into the science behind musical instruments can provide a wealth of learning opportunities. Children can investigate how instruments produce sound, discover the principles behind their design, and explore the various factors that affect pitch, volume, and tone. This hands-on exploration of musical instruments can help foster an appreciation for the art of sound creation.
By encouraging children to engage in educational sound experiments, we can nurture their curiosity and spark their interest in the world of science and music. These experiences not only enhance their understanding of fundamental concepts but also promote critical thinking, problem-solving skills, and creativity. So, let’s continue to inspire young minds through the exploration of educational and engaging sound experiments!
FAQ
What are the benefits of using xylophones for kids?
Xylophones enhance a child’s musical skills and hand-eye coordination.
What types of xylophones are available?
There are wooden xylophones, metal xylophones, and color-coded xylophones designed for educational purposes.
How can I create a water xylophone for a sound experiment?
By using glass jars and water, you can create a water xylophone to explore sound waves and pitch manipulation.
How does the amount of water affect the pitch in a water xylophone?
More water in the jars results in a lower pitch, while less water creates a higher pitch.
What other sound experiments can I conduct with everyday materials?
There are numerous educational and engaging sound experiments that can be conducted, including exploring sound waves, musical scales, and different musical instruments.


