Making a homemade xylophone can be a fun and educational activity for kids. By following this step-by-step guide, you can create your own xylophone using simple materials and tools. This project will enhance your child’s creativity, musical skills, and hand-eye coordination.
Materials Needed for Homemade Xylophone
To create your own homemade xylophone, you will need the following materials:
- Window casings for the xylophone keys
- A saw to cut the wood
- Acrylic paint for decoration
- Mod podge to protect the paint
- A nail gun or nails and a hammer to assemble the xylophone
- 2x4s to create the base
These materials are readily available at most hardware stores or online retailers. The window casings will serve as the keys of the xylophone, while the 2x4s will be used to construct the base for support.
Acrylic paint and mod podge can be used to add a personal touch to the xylophone by painting and sealing the keys. The nail gun or nails and hammer will be used to securely attach the keys to the base.
Now that you have gathered the necessary materials, let’s move on to the next section to learn how to craft the xylophone keys.
Crafting the Xylophone Keys
When it comes to making a homemade xylophone, crafting the keys is a crucial step. The keys are what produce the different sounds and pitches when struck with a mallet. To ensure the best quality sound, it is important to choose the right wood and cut the keys to the appropriate lengths.
Choosing the right wood: Selecting the right type of wood is essential for the xylophone keys. It is recommended to choose a dense and hard wood that can produce clear and resonant tones. Woods such as rosewood or cedar are popular choices due to their excellent acoustic properties.
Cutting wood for xylophone keys: Once you have chosen the wood, it’s time to cut the keys. Use a saw to cut the wooden bars into different lengths, corresponding to the desired pitches. Precision is key here, as each key should be accurately measured to ensure the correct pitch when played.
Key Lengths for Different Pitches
| Key | Length (in inches) |
|---|---|
| C | 9 |
| D | 8 |
| E | 7 |
| F | 6 |
| G | 5 |
| A | 4 |
| B | 3 |
| C | 2 |
By cutting the wood to the specified lengths, you will be able to create a xylophone that accurately reproduces the desired musical notes. Remember to sand the edges of the keys to ensure a smooth playing surface and remove any splinters.
With the keys crafted, you are one step closer to completing your homemade xylophone. The next section will guide you through the process of creating the xylophone base, providing stability and support for the keys.
Creating the Xylophone Base
Now that we have crafted the xylophone keys, it’s time to move on to the next step: creating the xylophone base. The base will provide stability and support for the keys, ensuring that the instrument is durable and can withstand regular use. Let’s dive into the process of cutting the wood for the base, assembling it, and using a nail gun for a secure and professional finish.
Cutting Wood for Xylophone Base
The first step in creating the xylophone base is to cut the wood to the desired length. For this project, we will be using 2x4s, which are readily available and provide the necessary strength and thickness. Measure and mark the required lengths for the sides and crossbars of the base using a tape measure and pencil.
With the measurements marked, use a saw to carefully cut the wood along the marked lines. Ensure that your cuts are precise and straight to achieve a clean and professional look for your xylophone base. Take your time and exercise caution while using the saw to prevent any accidents or injuries.
Assembling the Base with a Nail Gun
Once you have cut the wood for the base, it’s time to assemble the pieces. A nail gun is a handy tool for this task, as it allows for quick and efficient attachment of the wood pieces. Position the side pieces perpendicular to the crossbars, ensuring that they are aligned properly.
Hold the pieces firmly together and use the nail gun to drive nails through the side pieces into the crossbars, securing them in place. Be sure to space the nails evenly to ensure a strong and sturdy base. If you don’t have access to a nail gun, you can also use a hammer and nails to achieve the same result, although it may take a bit more time and effort.
With the base assembled, you now have a solid foundation for your homemade xylophone. The next step is to attach the xylophone keys to the base and complete the instrument.
Painting and Sealing the Xylophone
Once the xylophone keys and base are assembled, it’s time to add some color to your homemade instrument. Painting the xylophone keys not only adds a visual appeal but also allows you to personalize the instrument with your favorite colors. To paint the xylophone keys, you will need acrylic paint, brushes, and a well-ventilated area for the painting process.
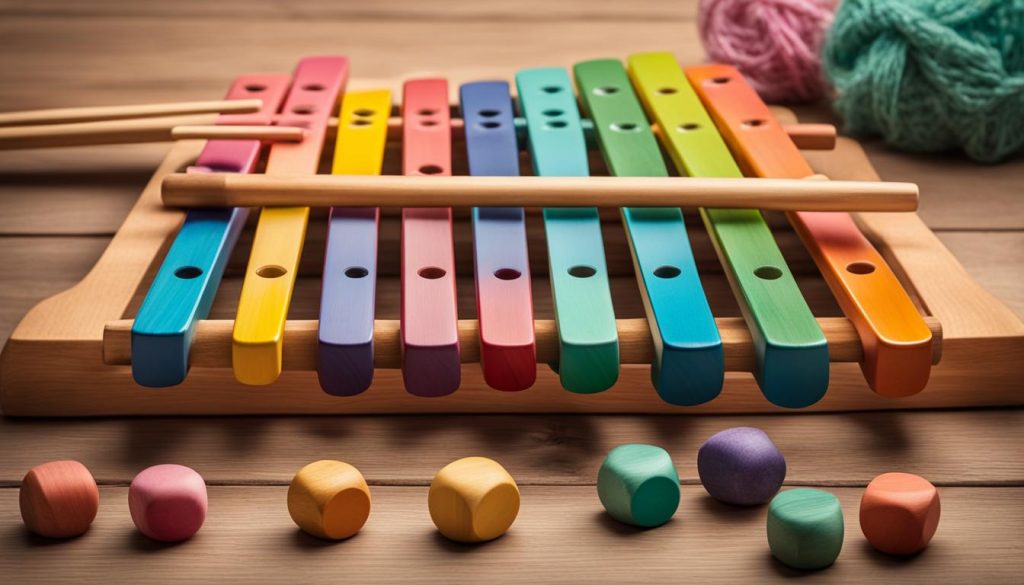
Start by applying a base coat of acrylic paint to each key. You can choose a single color or create a rainbow effect by using different colors for each key. Let the paint dry completely before adding additional layers for a smoother and more vibrant finish. Once the desired color is achieved, you can further enhance the appearance and protect the paint by applying a coat or two of mod podge. Mod podge acts as a sealant, preventing the paint from chipping or fading over time.
Sealing the xylophone keys with mod podge also adds a glossy finish, giving the instrument a professional look. Apply the mod podge using a brush or sponge, making sure to cover the entire surface of each key. Allow the mod podge to dry completely before handling or playing the xylophone.
By painting and sealing the xylophone keys, you not only protect the paint but also enhance the overall durability of your homemade instrument. This step allows the xylophone to withstand regular use and ensures that it will provide hours of musical enjoyment for years to come.
Assembling the Homemade Xylophone
Now that we have completed the crafting and painting steps, it’s time to assemble our homemade xylophone. This final stage is crucial in ensuring that the xylophone is sturdy, the keys are securely attached to the base, and the instrument produces clear and resonating sounds.
Attaching the Xylophone Keys to the Base
To attach the xylophone keys to the base, we will need a nail gun or nails and a hammer. Start by placing the keys on top of the base, ensuring they are evenly spaced. Secure each key in place by using the nail gun to drive nails through the key and into the base.
Make sure the nails are firmly embedded in the wood, as this will prevent the keys from shifting or coming loose while playing the xylophone. Take your time and double-check that the keys are straight and aligned before hammering in the nails.
Testing the Sound
Once all the keys are securely attached to the base, it’s time to test the sound of each key. Grab a xylophone mallet and tap each key gently. Listen carefully to the sound produced by each key, making note of any keys that may need adjustment.
If a key sounds dull or muted, try repositioning it slightly to achieve a clearer and more resonating sound. You can also experiment with the placement of the keys to create different tones and melodies. Remember, the positioning of the keys can greatly impact the overall sound of the xylophone.
| Key Placement | Sound Quality |
|---|---|
| Evenly spaced and aligned | Clear and resonating |
| Keys too close together | Muffled and overlapping sounds |
| Keys too far apart | Weak and distant sounds |
Table: Key Placement and Sound Quality
By adjusting the placement of the keys and fine-tuning their positions, you can create a harmonious and melodic homemade xylophone that will bring joy and musical exploration to you and your child.
Enjoying the Homemade Xylophone
Now that your homemade xylophone is complete, it’s time to enjoy the beautiful sounds it produces! Encourage your child to explore their musical talents by playing with the xylophone and creating their own melodies. The xylophone’s colorful keys and pleasant tones will captivate their imagination and foster a love for music.
To make the experience even more enjoyable, you can incorporate the xylophone into various musical activities for kids. For example, you can play a simple song on another instrument and ask your child to try and replicate the melody on the xylophone. This activity will help them enhance their listening and coordination skills while having fun!
Another great way to engage with the xylophone is by organizing a musical game. You can challenge your child to play a familiar tune and have them guess the name of the song. This game will not only entertain them but also boost their musical knowledge and memory.
Remember, the homemade xylophone is not only a musical instrument but also a valuable educational tool. It can aid in the development of your child’s fine motor skills, hand-eye coordination, and creativity. So, make the most of this homemade creation and enjoy countless hours of musical fun with your little one!
FAQ
What materials do I need to make a homemade xylophone?
To make a homemade xylophone, you will need window casings for the xylophone keys, a saw, acrylic paint, mod podge, a nail gun or nails and a hammer, and 2x4s for the base.
How do I cut the wooden bars or keys for the xylophone?
You can use window casings and cut them into different lengths. It is recommended to choose a dense and hard wood, such as rosewood or cedar, for the xylophone keys. Cutting the wood into precise measurements will ensure the correct pitch for each key.
How do I create the base for the xylophone?
Cut the 2x4s to the desired length and assemble them using a nail gun or nails and a hammer. The base will provide stability and support for the xylophone keys.
How do I paint and seal the xylophone?
Use acrylic paint to paint the xylophone keys in a rainbow order or any other design you prefer. After the paint is dry, apply a coat or two of mod podge to seal and protect the paint.
How do I attach the xylophone keys to the base?
Use a nail gun or nails and a hammer to secure the keys in place. Make sure they are evenly spaced and firmly attached. Test the sound of each key by tapping it with a xylophone mallet and adjust the placement if necessary.
What can I do with the homemade xylophone?
Encourage your child to explore music and create their own melodies using the xylophone. You can also incorporate the xylophone into musical activities and games to enhance your child’s musical skills and creativity.