Making your own baby carrier can be a rewarding and cost-effective DIY project. With just a few simple steps, you can create a customized and comfortable carrier for your little one. Whether you’re a seasoned sewer or new to DIY, there are options available for everyone. DIY baby carriers not only save you money but also allow you to customize the fit and create a stylish and functional carrier for your baby.
Are you ready to embark on this exciting journey of creating your own baby carrier? In this article, I will guide you through the process of making a DIY baby carrier. From choosing the type of carrier that suits you best to step-by-step instructions, you’ll have all the information you need to get started. Let’s dive in and discover the joy of crafting your own baby carrier!
Why Baby Carriers Are Useful
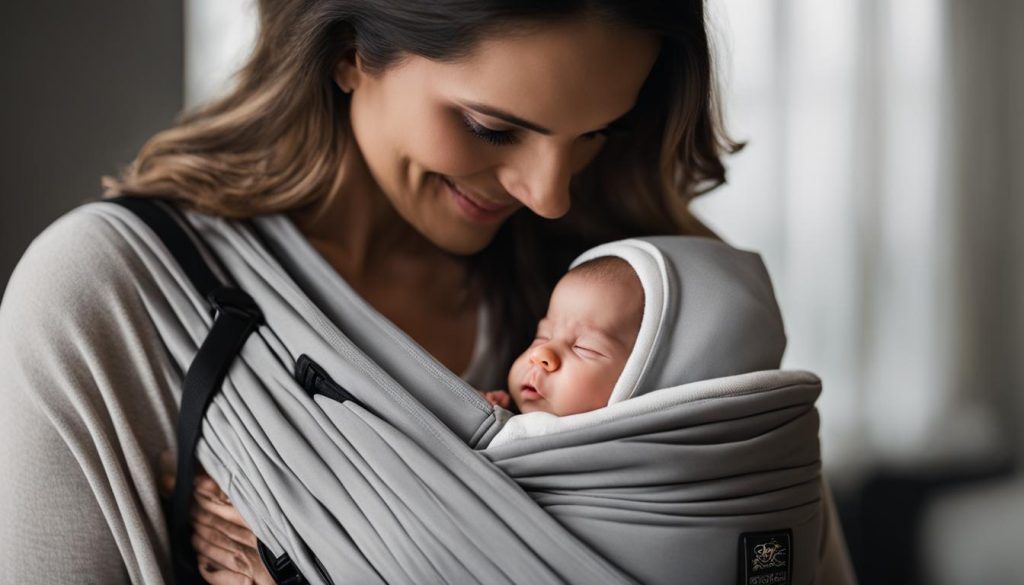
Baby carriers are a valuable tool for parents, offering numerous benefits for both parent and baby. Carrying your baby in a carrier allows you to have your hands free while keeping your baby close. This promotes parent-child bonding and allows you to carry out daily tasks more easily. Baby carriers also provide convenience when running errands or navigating crowded spaces, as they eliminate the need for a bulky stroller. Moreover, using a baby carrier can help soothe a fussy baby and promote better sleep.
Parent-child bonding is an essential aspect of a baby’s development. When you carry your baby in a carrier, they can feel your warmth, hear your heartbeat, and be reassured by your presence. This close physical contact promotes bonding and emotional connection, enhancing the parent-child relationship. Baby carriers also allow for skin-to-skin contact, which has numerous benefits for both newborns and parents. Skin-to-skin contact can regulate a baby’s body temperature, heart rate, and breathing, while also promoting breastfeeding and reducing postpartum anxiety.
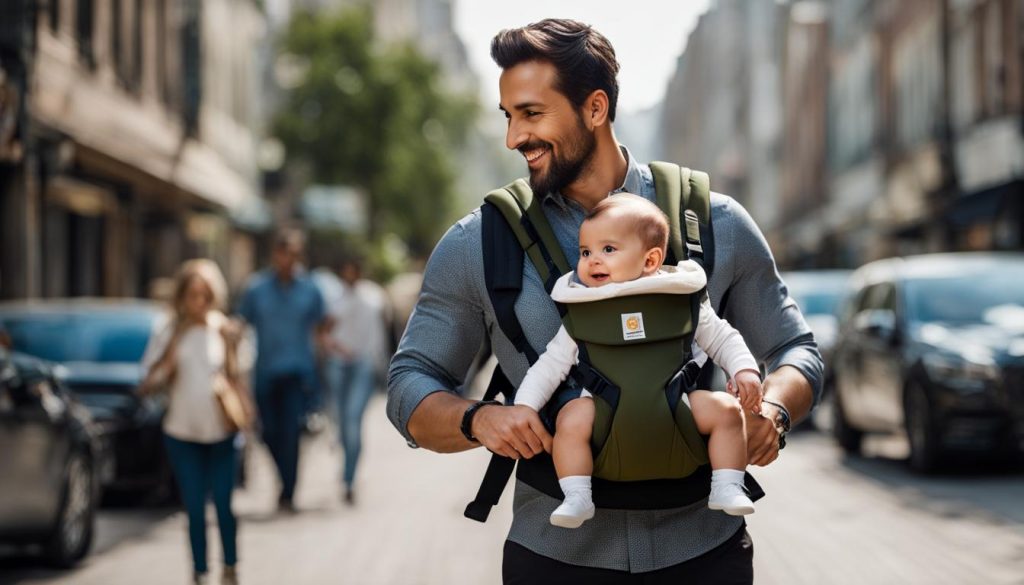
In addition to the bonding benefits, baby carriers offer practical advantages. They provide a hands-free solution for parents, allowing them to multitask and attend to daily tasks while keeping their baby close. Whether you’re grocery shopping, taking a walk, or doing household chores, a baby carrier allows you to have your hands free and your baby secure. This convenience extends to crowded environments, where navigating with a stroller may be challenging. A baby carrier provides mobility and freedom of movement, enabling you to maneuver through crowded spaces with ease.
Quote:
“Using a baby carrier not only keeps my baby close, but it also allows me to have my hands free to do other tasks. It’s a win-win situation!” – Sarah, mother of two
Table: Comparison of Baby Carriers
| Type of Carrier | Benefits |
|---|---|
| Soft-Structured Carrier | – Provides ergonomic support for baby’s hips and spine – Adjustable straps for a customized fit – Easy to put on and take off |
| Wrap | – Versatile and can be used in multiple carrying positions – Distributes weight evenly on the shoulders and back – Ideal for newborns and breastfeeding |
| Sling | – Quick and easy to use – Compact and lightweight for portability – Ideal for breastfeeding on-the-go |
| Mei Tai | – Offers flexibility in carrying positions – Suitable for newborns and toddlers – Provides excellent support for extended wearing |
Overall, baby carriers provide numerous benefits for both parents and babies. They promote parent-child bonding, offer practicality and convenience, and can help soothe and calm your baby. With various types available, you can choose the one that suits your needs and preferences. Whether you opt for a soft-structured carrier, wrap, sling, or mei tai, babywearing can enhance your parenting experience and create a stronger connection with your little one.
Benefits of Making Your Own Carrier
Making your own baby carrier has several advantages. One of the key benefits is cost-effectiveness. Store-bought carriers can be expensive, but DIY options allow you to create a carrier that fits your budget. Additionally, making your own carrier provides the opportunity to customize the fit according to your body type and preferences. This is especially beneficial for moms who may have difficulty finding a carrier that fits them properly. Lastly, DIY carriers can be tailored to your style and aesthetic preferences, allowing you to create a carrier that reflects your personal taste.
Not only can making your own baby carrier save you money, but it also gives you the chance to create a carrier that is truly tailored to your needs. By customizing the fit, you can ensure that the carrier is comfortable for both you and your baby. This is particularly important since every person’s body is unique, and what works for one may not work for another. With a DIY baby carrier, you have the freedom to adjust the size, straps, and closures to create a perfectly customized fit.
Furthermore, DIY baby carriers offer a chance to express your creativity and personal style. Instead of settling for generic store-bought options, you can design a carrier that aligns with your aesthetic preferences. Choose fabrics, patterns, and colors that you love, and add unique touches like personalized embroidery or decorative accents. Not only will your DIY carrier be functional, but it will also be a reflection of your personality and style.
| Benefits of Making Your Own Carrier |
|---|
| Cost-effective |
| Custom fit |
| Reflects personal style |
Choosing a Carrier For You
When it comes to choosing a baby carrier, there are various types available, each with its own unique features and benefits. Understanding the different options will help you find the carrier that best suits your needs and preferences.
Soft-Structured Carrier
A soft-structured carrier is a popular choice for many parents due to its versatility and ease of use. These carriers have a fabric body with padded straps that wrap around both the parent’s shoulders and waist. The adjustable straps allow for a comfortable fit and even weight distribution, making it a great option for longer periods of carrying.
Wrap
A wrap is a long piece of fabric that can be folded and tied in different ways to carry your baby. This type of carrier offers a snug and secure hold, providing excellent support for newborns and infants. It also allows for a customizable fit, catering to different body sizes and shapes. Wraps are a popular choice for those who prefer a more intimate and womb-like carrying experience.
Sling
A sling is a one-shoulder carrier that wraps diagonally across the body, providing a comfortable and convenient option for quick ups and downs. Slings are often adjustable, allowing for easy breastfeeding and discreet nursing. They are lightweight and compact, making them ideal for on-the-go parents who need a carrier that is easy to pack and carry.
Mei Tai
A mei tai is a hybrid between a soft-structured carrier and a wrap. It offers the flexibility of different carrying positions while providing the support and comfort of a structured carrier. Mei tais typically have wide shoulder straps and a waistband that distribute the weight evenly across the wearer’s body. They are a great option for parents who want the best of both worlds.
When choosing a baby carrier, consider factors such as your lifestyle, the age and size of your baby, and your personal comfort preferences. It’s also a good idea to try out different carriers before making a decision. Remember, finding the right carrier for you and your baby is essential for enjoying the benefits of babywearing.
How Do You Make Baby Carriers?
Creating your own baby carrier can be a fun and rewarding project. Whether you prefer a sling, wrap, or structured carrier, there are DIY options available for every skill level. Here is a breakdown of how you can make your own baby carrier:
DIY Baby Sling
A baby sling is a popular choice for many parents due to its simplicity and versatility. To make a DIY baby sling, you will need the following materials:
- 2 sling rings
- Fabric
- Pins
- Thread
- Sewing machine (optional)
Start by folding the fabric in half lengthwise and sewing the edges together to create a long tube. If you prefer a no-sew option, you can use a long piece of fabric or even repurpose a T-shirt. Once you have your fabric ready, thread it through the sling rings, making sure it is securely held in place. To use the baby sling, simply put the fabric over your shoulder and adjust it to create a snug and comfortable fit for you and your baby.
DIY Baby Wrap
A baby wrap provides a secure and cozy way to carry your little one. You can make a DIY baby wrap using the following steps:
- Choose a suitable fabric, such as stretchy cotton or linen.
- Measure and cut the fabric to your desired length. A standard size for a baby wrap is around 5-6 yards.
- Fold the fabric in half lengthwise, and then fold it in half widthwise to find the center point.
- Place the center of the fabric on your chest and wrap the ends around your body, crossing them over your back.
- Bring the ends forward and tie them in a secure knot at your waist.
Remember to always follow safety guidelines when using a baby wrap, ensuring your baby is properly supported and has clear airways.
DIY Baby Carrier Instructions
For a more structured DIY baby carrier, you can follow specific instructions based on the type of carrier you want to create. Whether you’re making a soft-structured carrier or a mei tai, detailed step-by-step instructions can be found online or in DIY baby carrier tutorials. These instructions will guide you through the process of cutting fabric, sewing (if necessary), and assembling the carrier to ensure a safe and comfortable fit for both you and your baby.
Creating your own DIY baby carrier allows you to customize the fit, style, and functionality to meet your specific needs. Whether you’re a seasoned seamstress or new to DIY projects, there are options available for everyone. Enjoy the process of making a carrier that reflects your personal style and provides a comfortable and secure way to carry your baby.
Safety Tips for DIY Baby Carriers
Ensuring the safety of your baby when using a DIY baby carrier is essential. By following these safety tips, you can provide a secure and comfortable experience for both you and your little one.
Choose the Right Materials
When creating a DIY baby carrier, it’s crucial to select strong and durable materials. Avoid stretchy or weak fabrics that may compromise the safety of the carrier. Opt for sturdy fabrics that can withstand the weight of your baby and provide adequate support.
Follow Weight Limits
Every DIY baby carrier has weight limits that must be adhered to. It’s important to check the weight capacity of your carrier and adjust it as your baby grows. Keeping within the recommended weight limit ensures that your baby is properly supported and secure while being carried.
Ensure Ergonomic Positioning
Ergonomic positioning is key to the safety and comfort of your baby. Make sure the carrier supports your baby’s hips and legs in a spread-squat position, which promotes healthy hip development. Their legs should be able to move freely and their spine should be properly supported.
“Safety is paramount when using any type of baby carrier. When making a DIY carrier, always prioritize the well-being of your baby by using quality materials, following weight limits, and ensuring proper ergonomic positioning.”
Follow the T.I.C.K.S. Guidelines
It’s important to follow the T.I.C.K.S. guidelines for safe babywearing with your DIY carrier. These guidelines include: Tight, In view at all times, Close enough to kiss, Keep chin off the chest, and Support the back. Adhering to these guidelines helps to ensure that your baby is safe and properly positioned at all times.
By following these safety tips, you can confidently use your DIY baby carrier and enjoy the benefits of babywearing while keeping your little one safe and comfortable.
Table: Safety Features Comparison
| Carrier Type | Safety Features |
|---|---|
| Soft-Structured Carrier | Adjustable straps, padded waistband, secure buckles |
| Wrap | Secure wrapping techniques, even weight distribution |
| Sling | Sturdy fabric, properly adjusted rings, shoulder padding |
| Mei Tai | Secure tying methods, wide straps for support |
DIY Baby Carrier Materials and Tools
When it comes to making your own baby carrier, you’ll need a few essential materials and tools to get started. The specific items you’ll require will depend on the type of carrier you choose to make. Here are some common materials and tools needed for DIY baby carriers:
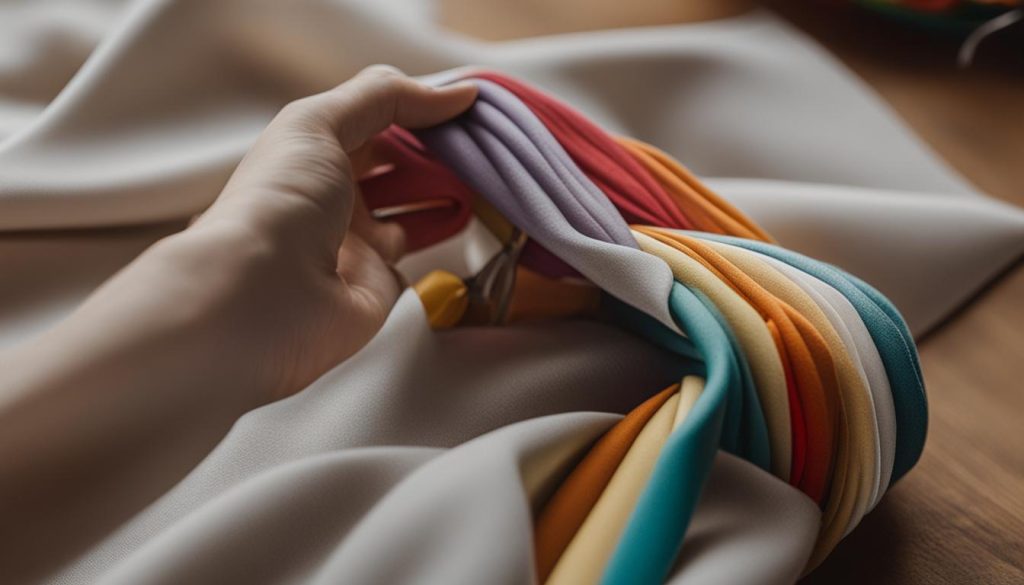
Fabric for Baby Wraps
For DIY baby wraps, it’s important to choose a fabric that is both stretchy and breathable. Cotton and linen are popular fabric choices due to their softness and comfort. Look for fabric with a good amount of stretch, as this will help ensure a secure and snug hold for your baby.
Rings for Baby Slings
If you’re making a DIY baby sling, you’ll need sling rings to create a secure and adjustable loop. Sling rings are typically made of sturdy materials like aluminum or nylon. They come in various sizes, so be sure to choose rings that are appropriate for the weight and size of your baby.
Sewing Supplies
If you’re planning on sewing your own baby carrier, you’ll need some basic sewing supplies. These may include scissors, pins, thread, and a sewing machine. Having these tools on hand will allow you to properly measure, cut, and sew the fabric to create a strong and durable baby carrier.
Remember, the specific materials and tools you’ll need may vary depending on the type of baby carrier you decide to make. Always consult the instructions or tutorials for your chosen carrier to ensure you have everything you need before getting started.
| Materials | Tools |
|---|---|
| Fabric (stretchy and breathable) | Scissors |
| Sling rings | Pins |
| Thread | Sewing machine |
DIY Baby Carrier Instructions
Creating your own baby carrier can be a rewarding and personalized project for parents. Whether you are an experienced sewer or prefer a no-sew approach, there are step-by-step instructions available to guide you through the process.
- Research and choose a tutorial or pattern: Begin by searching for a tutorial or sewing pattern that matches the type of baby carrier you wish to make. Look for detailed instructions and diagrams to help you understand each step.
- Gather your materials: Depending on the type of carrier, you may need fabric, sling rings, buckles, padding, or other supplies. Make sure to have all the necessary materials on hand before starting the project.
- Measure and cut the fabric: Follow the measurements provided in the instructions or use a pattern to cut the fabric into the required pieces. Take your time to ensure accurate measurements for a properly fitting carrier.
- Assemble and sew: If sewing is required, carefully follow the instructions to stitch the fabric pieces together. Take note of any specific sewing techniques or reinforcements mentioned in the tutorial.
- Test and adjust: Once your carrier is assembled, test it out with a doll or stuffed animal to see how it feels and fits. Make any necessary adjustments for comfort and security.
Remember to take your time and follow the instructions closely to create a safe and functional baby carrier. If you’re unsure about any step, consult additional resources or tutorials to clarify the process.
| Type of Baby Carrier | Materials | Tools |
|---|---|---|
| Sling | Fabric, sling rings | Sewing machine or no-sew options |
| Wrap | Stretchy, breathable fabric | Scissors, no-sew or sewing machine if desired |
| Soft-Structured Carrier | Fabric, buckles, padding | Scissors, sewing machine |
| Mei Tai | Fabric, straps, padding | Scissors, sewing machine |
As you embark on your DIY baby carrier journey, remember that safety and comfort should always be prioritized. Take the time to test and adjust your carrier to ensure a secure fit for both you and your baby. Enjoy the process of creating a carrier that is customized to your preferences and needs.
Tips for Using DIY Baby Carriers
Using a DIY baby carrier requires proper usage and adjustments to ensure the comfort and safety of both the parent and the baby. Here are some essential tips to keep in mind:
- Adjustment is key: Take the time to properly adjust the carrier according to your baby’s size and age. A snug and secure fit is important to provide adequate support for your little one.
- Practice makes perfect: Before putting your baby in the carrier, practice using it without your baby to familiarize yourself with the proper techniques. This will allow you to make any necessary adjustments for comfort and support.
- Comfort for both: Pay attention to your baby’s cues and body language while in the carrier. Make sure they are comfortable and not experiencing any discomfort. Additionally, ensure that the carrier is comfortable for you as the parent, as you will be wearing it for extended periods of time.
- Regular checks: Regularly inspect the carrier for signs of wear and tear. Check for loose stitching, frayed fabric, or any other safety concerns. If you notice any issues, discontinue use and make the necessary repairs or replacements.
By following these tips, you can ensure a safe and enjoyable experience when using your DIY baby carrier. Remember that every baby is unique, so it’s important to find the adjustments and positioning that work best for you and your little one.
When using a baby carrier, always prioritize the safety and comfort of your baby. Properly adjusting the carrier to fit your baby’s size and age is crucial. Taking the time to practice using the carrier before placing your baby in it will help you become familiar with the proper techniques and ensure a secure and comfortable fit. Pay close attention to your baby’s cues and body language to ensure they are happy and comfortable in the carrier. Regularly check the carrier for any signs of wear and tear, and make any necessary repairs or replacements to ensure its safety.
In Conclusion
When it comes to babywearing, DIY baby carriers offer a range of benefits that make them a popular choice for parents. One of the key advantages is the cost-effectiveness. By making your own baby carrier, you can save money compared to buying a store-bought option. This is particularly beneficial for budget-conscious parents who still want to provide their little ones with a safe and comfortable carrier.
Another significant benefit of DIY baby carriers is the ability to customize them according to your preferences. You can choose the fabric, colors, and patterns that resonate with your personal style, creating a carrier that reflects your individuality. Additionally, DIY carriers provide the opportunity to tailor the fit to your body type and ensure optimal comfort for both you and your baby.
Babywearing itself offers numerous advantages, including promoting parent-child bonding and convenience. When you wear your baby in a carrier, you can keep them close while having your hands free to tend to other tasks. This closeness fosters a strong connection between you and your little one. Furthermore, using a baby carrier provides convenience in crowded spaces and eliminates the need for a bulky stroller, allowing you to navigate through daily activities more easily.
In conclusion, DIY baby carriers offer a cost-effective and customizable way to enjoy the benefits of babywearing. By following tutorials and instructions, you can create a safe and comfortable carrier that suits your style and needs. Embrace the joy of making your own baby carrier and experience the rewards of keeping your baby close while having the freedom to tackle your daily routine.